This article will show you how to create long exposures. The camera settings you should use, Neutral density filter, and remote shutter release will help you achieve your goals. Lighting is also covered. We'll talk about the equipment you need including lenses, tripods, and filters. Before we get started, let's talk about how to focus your camera under low light and adjust your ND filter, if needed.
Remote shutter release
You must mount your tripod first if you wish to take long exposure photos. This will keep it stable and still during the slow exposure time. After positioning your tripod correctly you can mount a remote shutter release onto the shutter. This will allow the shutter to be controlled remotely, allowing you to take long exposure shots from far away. Get started by turning on manual focus in your camera. Next, use the viewfinder and focus on a stationary part.
Neutral density filter
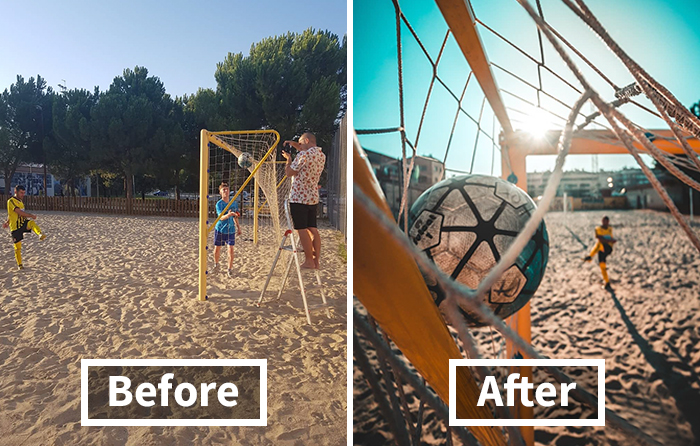
Even in daylight, a neutral density filter can create magical photos. This filter slows down the shutter speed to create smoother shots and improve landscape photos. While long exposure photography is difficult to capture in bright light, it can be very useful for those who want to experiment with new techniques. Below are some tips on how to take photos using a neutral density filter. Many factors will affect the quality of your long exposure photographs.
Camera settings
The settings you use to shoot long exposure photos are dependent on the subject. If possible, you should also use a tripod. It should be strong enough so that it can hold the camera for several moments at a time. You'll also want to use a remote shutter release to eliminate camera shake. The remote release can be a smartphone app or a cable attached to your camera. After you have set the timer on your camera, you can use a remote shutter-release to open it.
Lighting
The direction of motion is crucial to correctly shoot long exposures. Long exposure photography works well when there is motion in your background. To do so, you will need to take several steps. You will need to scout the location. You should arrive at the spot one hour prior to the scheduled shooting time. You should always check the weather before setting up your tripod. Be sure to wear comfortable shoes. Comfortable shoes are highly recommended as you will be standing for long periods of time.
Composition
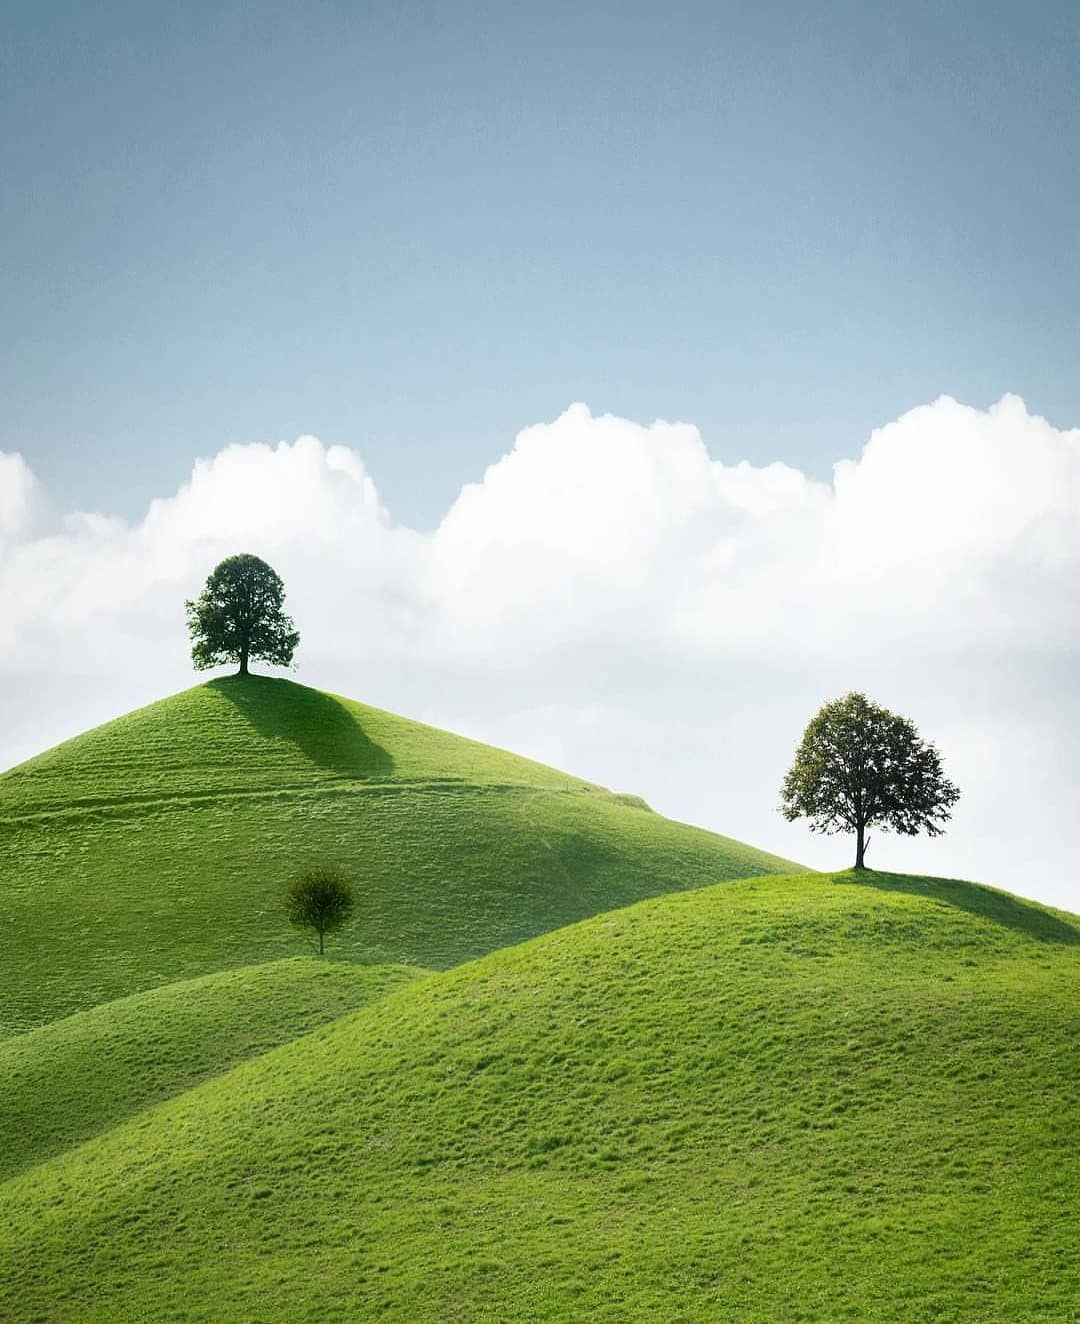
A long exposure is one of the best ways to create a compelling composition. This technique allows you to isolate certain moving elements in your scene. This can be done either with the sky or foreground objects. You can enhance visual design by using long exposures. You can learn more about long exposures and how they can enhance your photography. These tips should prove useful.
FAQ
Do I Need A Tripod?
This is one those questions that everyone has to ask. While a tripod isn’t necessary every time, it is useful.
This allows you to keep your camera steady even when taking slow shutter speeds. A tripod is a great option for landscapes and other stationary subjects.
However, tripods can blur the images of moving subjects like sports and people. How can you tell which situations call for a tripod and why?
A tripod is useful when you need to photograph stationary or fast moving subjects. Examples include:
-
Sports
-
People
-
Landscapes
-
Close-ups
-
Macro shots
You can use this test to determine whether you need a tripod. Keep your camera still, and then look through the viewfinder. A tripod is necessary if you notice blurred lines or movement.
If you don’t see blurring, adding a tripod is unlikely to make any difference.
If you do decide on a tripod purchase, these are some things to remember.
-
Your tripod should have smooth legs. This helps to prevent vibrations from shaking the camera.
-
You should choose a sturdy tripod. Some tripods are made of plastic, so they may not be as durable. Look for a metal tripod instead.
-
Buy a remote release. Remote control allows you to remotely control your camera. You can set it to fire the shutter once you press the button automatically.
-
Look for a tripod that has a 360-degree rotating head. This allows you to place your camera horizontally and vertically.
-
Remember that tripods can be expensive. Expect to pay $100-200. But, you will get a lot for your buck.
-
Accessories such as memory cards and filters are important.
-
Before buying online, check with your local store. Many retailers offer free shipping.
-
To find out what customers think about a product, read reviews.
-
Ask friends and family members who own similar products.
-
Visit forums and message boards to learn about customer experiences.
-
User reviews can be found online.
-
Amazon.com is a website that allows you to compare prices and get customer feedback.
-
See photo galleries to see some of the creative uses for tripods by photographers.
How can I learn photography on my own?
There are many methods to learn how you can take amazing photos. You could buy a book, attend a class, join an online community, watch YouTube tutorials, etc. It's better to learn the art yourself, if your goal is to take great pictures. You have full control over the final product. And you'll continue to improve as long you keep learning.
The best thing about digital photography? You don't need any expensive equipment. All you need is an internet connected computer and a camera. The rest is up for you.
Here are some tips to get your feet wet:
-
Learn how to use the manual settings on your camera.
-
Learn how the basic controls work.
-
Take lots of photos.
-
You can edit them.
-
These should be shared.
-
Keep practicing.
-
Experiment.
-
Take a look at the world from different perspectives.
-
Use light sources creatively.
-
Practice makes perfect.
-
Be willing to fail.
-
Be patient.
-
Have fun
Is digital photography hard?
Digital photography is not as simple as it seems. To use digital photography properly, it takes patience and effort. You must know the right settings for different types shots. It is best to practice what you have learned. Practice makes perfect.
Statistics
- Get 40% off Adobe Creative Cloud(opens in new tab) (creativebloq.com)
- There are people out there who will pick at flaws they can only see in 100% crops of your photos. (wikihow.com)
- This article received 13 testimonials, and 100% of readers who voted found it helpful, earning it our reader-approved status. (wikihow.com)
- That's the easiest way to get blurry photos 100% of the time. (photographylife.com)
External Links
How To
How to capture pictures under low lighting conditions
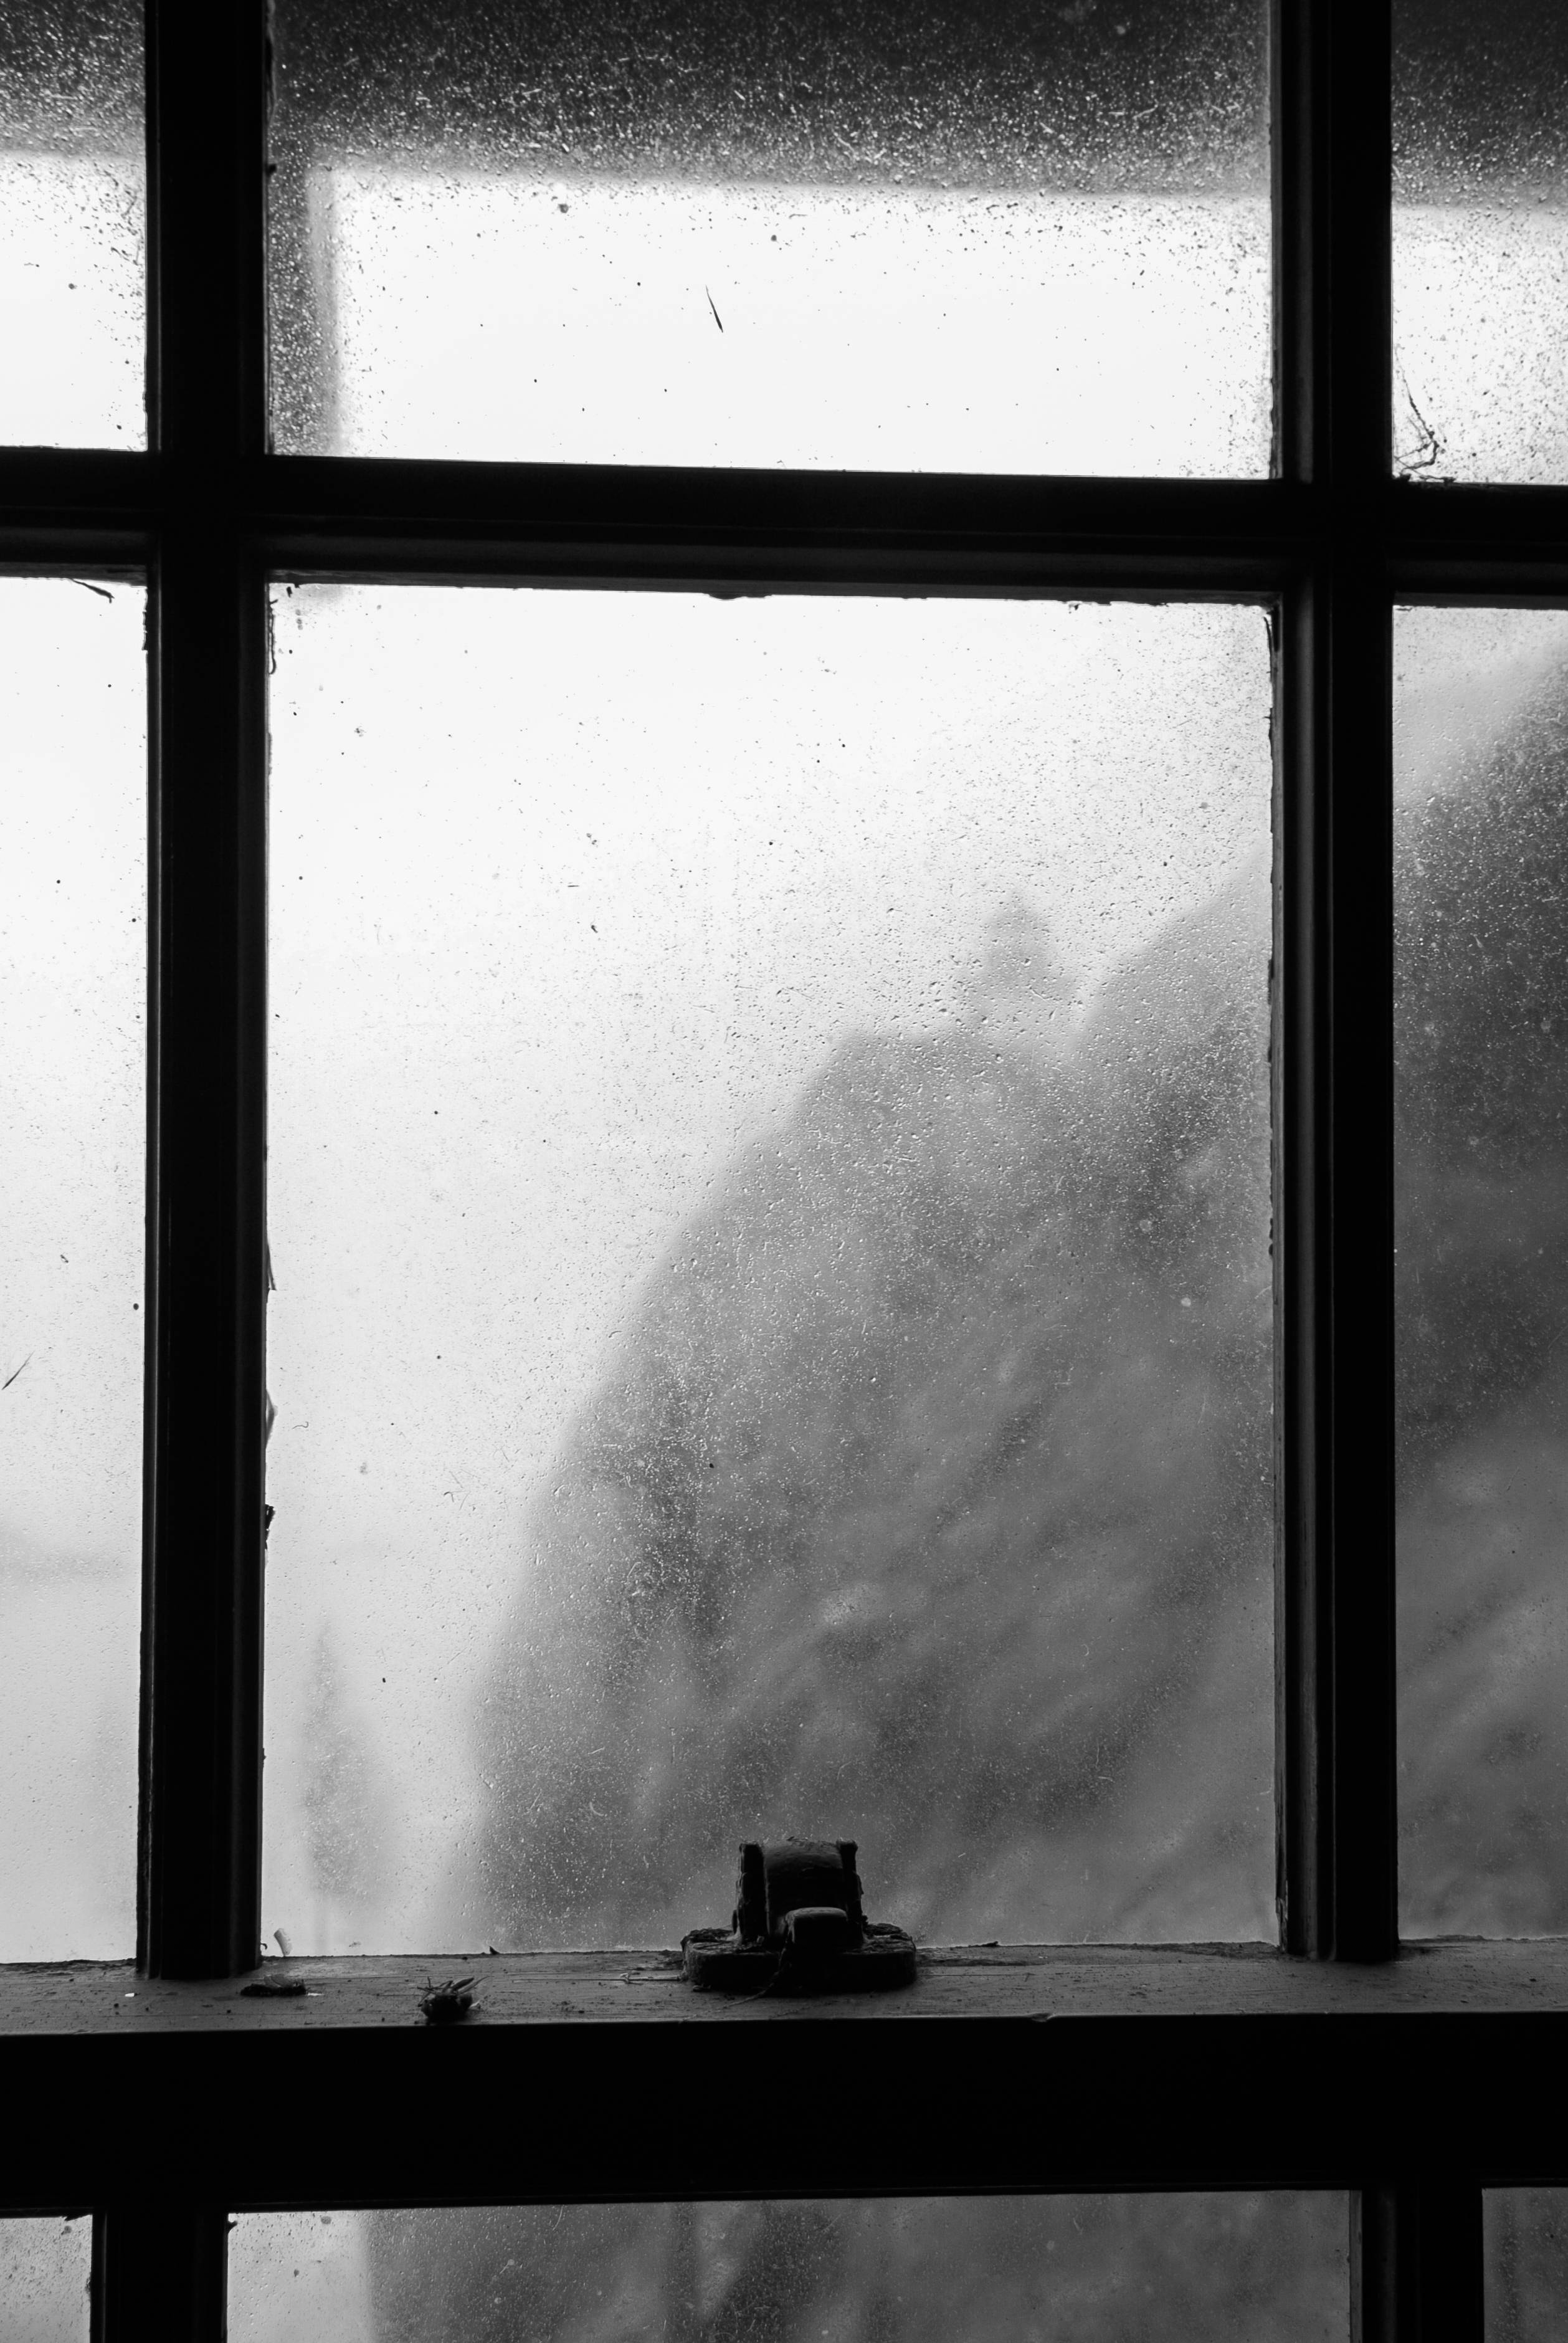
Low-light photography means taking photos in dimly lit areas. It requires special equipment. Controlling exposure, white balance, sharpness, and contrast are the main challenges. There are two types of low light photography: flash and ambient. Flash photography works well when there is sufficient light around you. If there isn’t enough natural lighting, you will need to use a flash. You might need a flash if your subject is outside but indoors. You can also shoot at night when the moon is shining. You will get beautiful shadows and colors. Another option is shooting at twilight. Twilight is when the sun sets but there's still daylight.
Also, you might want to try long exposures. Long exposures can be used to capture images even if the shutter has been closed for several minutes. The shutter must be closed so that the camera only records light that hits the sensor. This light continues to fall onto a photo sensor throughout a prolonged exposure. Because the shutter was closed, no new light enters your lens. This means that you will not see any movement. Turn off autofocus and autoexposure to ensure you get clear images. You should also adjust the ISO setting prior to you start taking photos. An ISO setting of 200 gives you more flexibility to control how bright or dark your image looks. When you're ready for the shot, press quickly the shutter button. The shutter will close completely. Keep the shutter button pressed down until the last second. The shutter button should be held down to prevent more light from entering the camera. Once you have taken your picture, wait for a few moments before you release that shutter button. This will allow the camera to process your image. While you wait, your photos will be displayed on your computer's screen. Save them once you are satisfied with them.