Your subject will determine what lighting is best for you. For example, strobe light is great for highlighting deep set eyes, but it can also accentuate skin imperfections. Know the specific features of your model so you can determine how they will look under different light conditions. There are many kinds of lighting and each one suits different purposes. When choosing the right lighting for you, be mindful of your personal style and mood.
Natural light
Natural light is an important aspect of photography that beginners should understand. Natural light allows for a closer focus on the subject. Photographers can take photos from wherever they are comfortable and don't have to move. Natural light can be used by photographers to evoke emotions or to enhance the colours to give them a more balanced look. Although beginners often believe they can't capture high-quality photos in dim lighting, it is possible to get amazing shots with a little practice.
Learning about natural lighting for beginners is the first step to learning. Train your eyes to see how light behaves. If you are shooting in natural lighting, be aware of how the sun shines and bounces off your subject. It is important to learn how to balance different types of light so that a photo appears warmer or cooler.
Artificial light
When you start taking pictures, it's important to understand how light sources work. This is important as different sources of lighting produce different results. It is important to realize that natural light has varying qualities, intensities, and colors. You need to plan ahead as natural light is hard to control. Artificial light can, however is controlled with various equipment and Kelvin settings.
An off camera flash is one of best artificial lighting options available for beginners. This is a great tool for outdoor portraits and can be used to create fill light. Many camera flashes come with built-in bounce cards and can be used in automatic or manual mode. Also, a tripod and flash holder can be used.
Ring lights
Ring lights make a great accessory for your photography. They can be wrapped around the camera lens or mounted on a tripod and directed toward the subject. They can be added to interesting scenes by being used in the middle of them. These devices can make your shots standout and allow you to add creativity.
There are two main types, on-camera or off-camera. The smaller on-camera ring light can be used outdoors and on location. These lights are most commonly used in portrait photography. They offer soft and even lighting, which eliminates harsh shadows. These lights can be used in a wide variety of situations including macro photography or videography.
Soft light
Two types of lighting are available for photography: hard and soft. By placing large amounts of light near the subject, you can create soft light. These large sources decrease contrast and fill the shadows. Contrasting light creates a dramatic effect. Use multiple large sources of lighting to achieve the desired effect.
Photographs can be taken in both soft and harsh light. As they create an artistic effect, harsh shadows are common in fashion photography. Soft light is what we prefer for all other purposes. Use a diffuser to make your flash appear soft. Diffuser boxes are commonly available for speedlights. They can diffuse light and permit multiple lights to be used. Another option is to bounce the flash from a larger object. To soften the flash, you can bounce it off a wall or ceiling.
Continuous lighting
If you're a beginner photographer and don't have a lot of money to spend, you can try continuous lighting with a simple continuous lighting kit. This kit includes two height-adjustable light stands, two 85-watt bulbs with E27 sockets, diffusers and cables, and a travel case. This kit, which is daylight-balanced, is great for learning about studio light.
Continuous lighting, unlike speedlight photography or strobes, is much more manageable. Continuous lighting can be used for as long as you need, which makes it great for beginners. They also offer beautiful lighting. But, they are not as powerful as studio strobes so make sure you get the best. A LED with 1000-lumen bulbs would be the best choice for optimal results.
FAQ
Where can I buy cameras?
There are lots of places online where you can buy cameras. However, we recommend buying from a reputable retailer like B&H Photo Video. They are able to assist you with any questions.
B&H ships securely and quickly, so you can get your order delivered right at your door.
You can learn more by watching this video about shopping for cameras.
Should I take up photography as a hobby or a profession?
Photography is an excellent way to capture memories and share them with friends and family. Photography also lets you learn more about the world around.
If you are interested learning how to take better photos, there are plenty online resources that can help.
Consider taking classes at your local community college or art school. This gives you the opportunity to meet other photographers, who can offer valuable feedback.
Do I Need A Tripod?
This is a question everyone asks. Although a tripod might not always be needed, they can be useful.
It can be used to steady your camera while you take slow shutter speeds pictures. Tripods can be a huge help when you are shooting landscapes or stationary subjects.
A tripod can also cause blurriness when you are photographing people or sports. How can you tell which situations call for a tripod and why?
A tripod can be useful in any situation where you need to capture fast action or stationary subjects. Examples include:
-
Sports
-
People
-
Landscapes
-
Close-ups
-
Macro shots
Do this test to see if you are unsure if you require a tripod. You can hold your camera still while you look through the lens. A tripod is necessary if you notice blurred lines or movement.
If there isn't blurring you won't notice any benefit from adding a tripod.
If you do decide on a tripod purchase, these are some things to remember.
-
Smooth legs are a must for your tripod. This will stop unwanted vibrations shaking your camera.
-
Make sure you choose a sturdy tripod. Some tripods are made of plastic, so they may not be as durable. Look for a metal tripod instead.
-
A remote release is a great option. Remote control allows you to remotely control your camera. You can set it to fire the shutter once you press the button automatically.
-
Try to find a tripod with a head that rotates 360 degrees. It makes it easy to position your camera horizontally or vertically.
-
Keep in mind that tripods aren't cheap. Expect to pay $100-200. You will still get a lot out of your money.
-
Accessories like memory cards and filters should not be forgotten.
-
Check your local stores before buying online. Many retailers offer free shipping.
-
You can read customer reviews to see what people think of a product.
-
Ask family members and friends who own similar products.
-
For customer feedback, visit message boards and forums.
-
Look online for user reviews.
-
Use websites like Amazon.com to compare prices and read customer feedback.
-
See photo galleries to see some of the creative uses for tripods by photographers.
What is the rule for thirds in photography?
The rule-of-thirds is a simple way to create interesting compositions using no complicated camera settings. This divides your image horizontally and vertically into nine equal parts. This creates three main areas where you want your subject to appear. These are the top (3rd from the left), middle (3rd from center) and bottom (3rd from lower right). You can use these areas as guides for positioning your subject within your frame.
The rule to thirds allows you to avoid placing important elements too closely together or too far apart. If you place them near each other, they may not have enough space between them to make a strong visual impact. They might lose focus if they are too close together.
Which Lenses should I Use?
The most popular question that beginners ask is "What lens do I need?" It's a tough decision since there are so many options available.
There is good news: You don't need to buy new lenses every time you buy a new camera. Instead, you can add lenses later on.
These are just three options for lenses that you might consider.
-
Wide Angle Lens (14mm-24mm): These lenses have a wide view angle that will allow you to capture more of your subject. You can also zoom in without losing image quality.
-
Normal/Standard Zoom Lens (28mm - 70mm): These lenses allow you to change focal lengths while maintaining image quality.
-
Telephoto Zoom Lens (70mm-200mm): These lenses can be used to capture distant subjects. These lenses allow you stay focused on your subject even when they appear small.
These lenses can be combined in a variety of ways to create new effects. For example, you could use a normal lens to shoot close-up details and switch to a telephoto lens to capture far away objects.
What is the best camera for beginners?
The best camera choice for beginners is determined by your budget, skills, and needs.
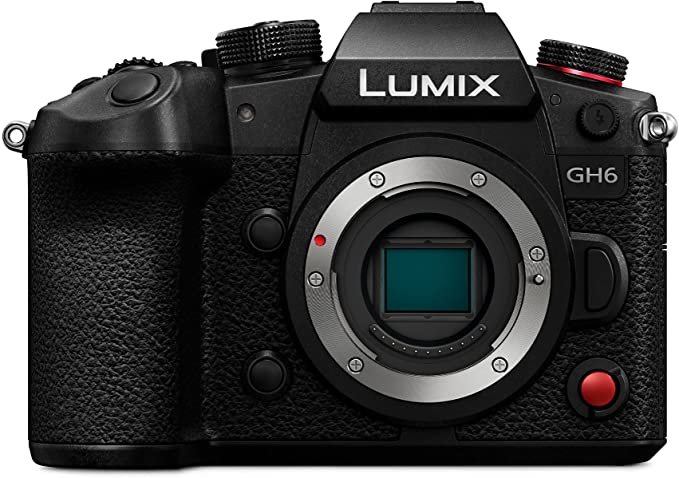
A point-and-shoot camera is a good option if you want to save money. These cameras can be very versatile, but they offer excellent quality.
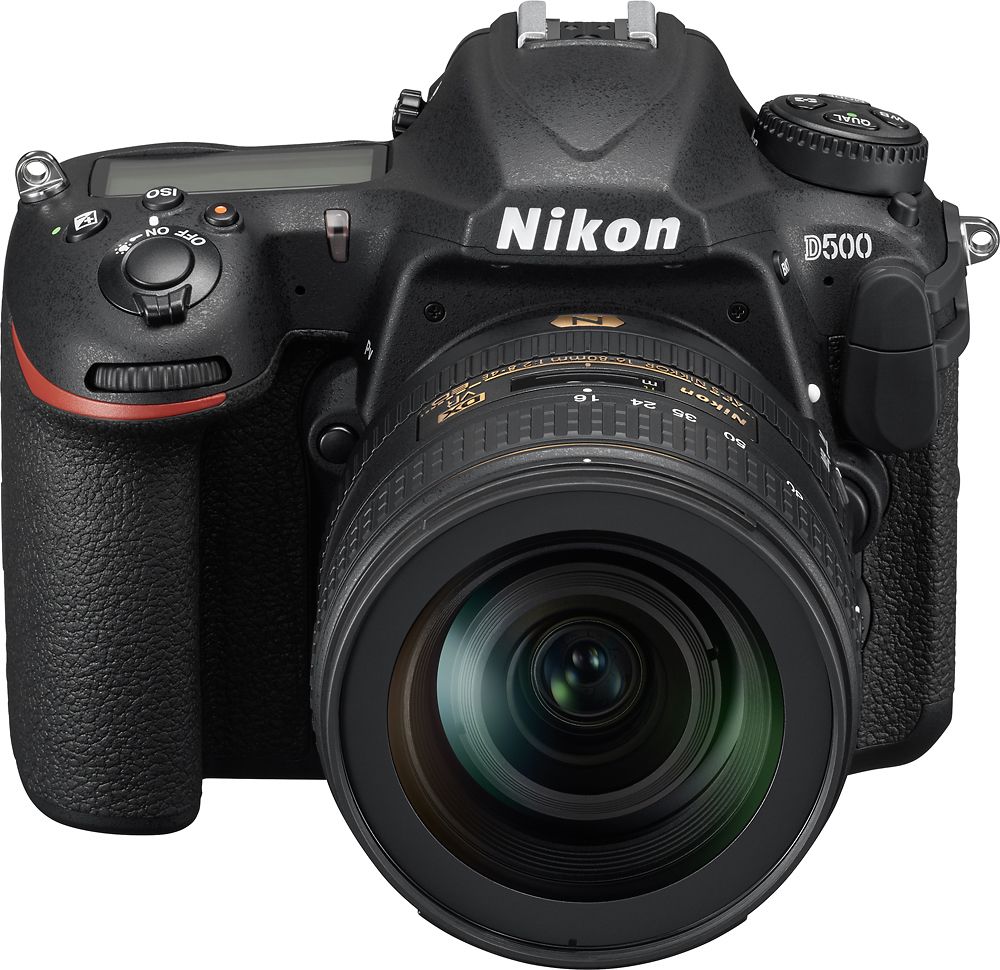
Digital Single Lens Reflex (DSLR) cameras can be equipped with interchangeable lenses that enable you to shoot different types. While they are more expensive than point and shoots, they offer much more flexibility.
For beginners to photography, the beginner's set is a great place for you to start. You'll find everything you need in one package, including a camera body, lens, memory card, tripod, and flash.
Don't forget to buy extra batteries too!
Statistics
- There are people out there who will pick at flaws they can only see in 100% crops of your photos. (wikihow.com)
- The second easiest way to get blurry photos 100% of the time is to use a cheap filter on the front of your lens. (photographylife.com)
- While I cannot prove that all of those spots were not sensor dust, the photo was taken during a heavy snowstorm…so I guess that 99.8% of the spots are snowflakes. (bhphotovideo.com)
- That's the easiest way to get blurry photos 100% of the time. (photographylife.com)
External Links
How To
How to use Lightroom in Photography
Adobe Lightroom allows photographers to edit photos quickly and efficiently. It allows you to import your images into one place where they can be viewed, edited, cropped, lightened, and saved. They can be shared online, printed, or emailed.
Lightroom provides editing tools such cropping and adjusting brightness, contrast and color balance. Lightroom also has a collection of presets that makes it easy to apply common effects, such as vignette (lens distortion correction) and black &white conversion. The best part is that these changes are applied automatically when you export your image.
Adobe Bridge lets you access Lightroom. It allows you to organize your files and view thumbnails, while browsing your collection. You can even add keywords to your images to find them later.
Lightroom is free if this is your first time using it. This gives you all the basic features. You have two options when you decide to upgrade. Either you can purchase the full version, or you can subscribe.
Lightroom can be downloaded in many different ways. Adobe can be purchased directly. Another option is to download the trial and convert it to a full-featured license. Here's how to do that.
-
Lightroom Trial Version Download
-
Launch the program. Click "Convert to License" in the bottom right corner.
-
Choose the type and payment details that you prefer (permanent/one-year)
-
To complete the process, click "Continue".
-
Once the trial version has been converted to a paid licence, you can continue using the license until the end.