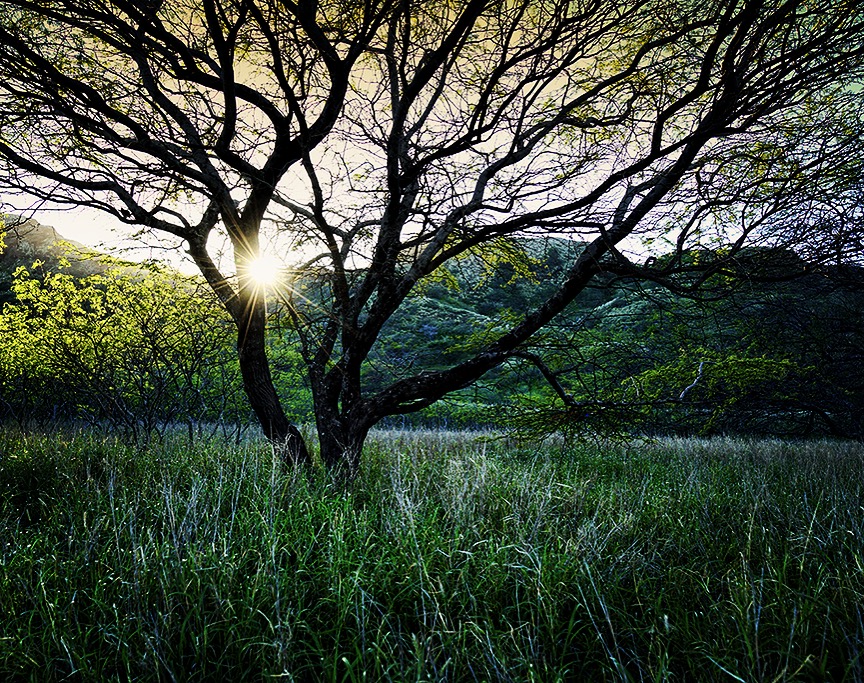
If you're not sure what camera manual settings are, this article will introduce you to some of the most commonly used settings. We'll cover the Basic exposure triangle, Histograms, Autofocus, and how to get the perfect exposure. The most difficult settings are the ones that can be tricky to find. This article is for the novice photographer. This article is not intended to be a guide on camera settings but rather a useful primer for getting the most from your camera.
Basic exposure triangle
There are three main pillars to exposure: shutter speed (or aperture), ISO (or ISO). Each one affects the final shot and varies depending on the scene. Depending upon the scene, photographers might choose to use one or all three of them in order for the best shot. For example, if you are taking a portrait of a sunset, a slower shutter speed may result in a darker photo. For a midday portrait, a faster shutter speed will capture the sun's rays.

Histograms
A histogram, which is displayed on a photo, shows a spectrum that represents the brightness of the image. Most histograms feature peaks on either the right or left. Dark areas are typically higher in the histogram. High-contrast images might have a U-shaped histogram. Low-contrast pictures may have a bell curve that has peaks on both ends. Histograms should ultimately be able show you whether or not your photo was well-exposed.
Getting the perfect exposure
The best way to get the perfect exposure is with manual settings for your camera. The secret to perfect exposure is to measure the light intensity. You can use a photometer to determine the intensity of light. This is possible with an external or built-in one. This article will show you how to use your camera's photometer. Next, change your camera's exposure setting to manual. If you are able to learn to use manual expose mode on your digital camera, you will be able to take better photographs.
Autofocus
It can be frustrating to waste your precious time on adjusting autofocus. When you could be creating candid moments, it is much more enjoyable. It's important to keep in mind that autofocus is the most effective when the subject is not easily distracted. A tripod is an essential tool to help focus on difficult subjects. A camera that automatically switches between manual or automatic focus modes might allow you to focus more quickly.
Manual white Balance
When choosing between manual and automatic white balance camera settings, you should take the type of subject and environment into consideration. Semi-automatic white balance and fully automatic modes may be fast and simple for beginners. But they can often make errors, especially in low light conditions. While manual white balance is easier and more intuitive, it can be slower. In either case, color errors will be partially corrected on your PC.
Low-light photography
Low-light photography is based on the principle that the shutter should be kept open for longer periods of time and wider than any other mode. A tripod or monopod will help you keep the camera steady so you can take multiple shots without affecting the composition. A tripod or monopod is particularly useful for low-light photography as you can set up the camera in advance and rotate it between them. A slow shutter speed is necessary to produce a high-quality low-light photograph. Make sure to pay attention to the image at the back of the camera.
FAQ
What is the rule of thirds in photography?
The rule of thirds is an easy way to create interesting compositions without using complicated camera settings. It divides the image horizontally or vertically into nine equal pieces. It creates three main areas, where your subject should appear. These are the top (upper left corner), middle (center) and bottom (lower right). These areas can be used as guidelines for positioning your subject within the frame.
The rule of Thirds helps you avoid placing crucial elements too close together. If they are too close to each other, it may be difficult for them to make a strong visual impression. You might find that they lose focus if you place them too close together.
What Camera Should You Get?
All depends on the type of photographer that you want to be. If you're just getting started, a basic point and click camera will suffice.
However, once the basics are mastered, it's likely that you will want more advanced features. Personal preference is the only way to decide.
These are some important things to think about before you purchase a new camera.
-
Features: Which features are most important? Do you intend to use manual or autofocus settings? What number of megapixels does the camera have? Is there a viewfinder on your camera?
-
Price: How much are you willing and able to spend on your camera? Are you planning on upgrading your camera every two years?
-
Brand: Do you feel satisfied with the brand you choose? There is no reason you should settle for less.
-
Functionality: Can your camera work in low-light conditions? Can you take high-resolution photos?
-
Image Quality: How clear are your images and how sharp are they?
-
Battery Life: How long does your camera last between charges.
-
Accessories: You will be able attach additional lenses, flashes and other accessories. ?
Light Room can be used to enhance your photographs.
It is important to begin early in order to have great photos. It's better if you take as many shots possible before you decide on the ones that give the most value.
Lightroom makes it easy to do this. It lets you see how different settings impact each photo. These settings can be changed on the fly, without needing to return to Photoshop. This lets you quickly experiment with what looks great and what doesn't.
Should I get into photography as an interest?
Photography is an excellent way to capture memories and share them with friends and family. Photography also lets you learn more about the world around.
There are many resources online that will help you take better photos if you're interested in this topic.
Consider taking classes at your local community college or art school. This will enable you to make connections with other photographers who are able to give valuable feedback.
How can I improve my smartphone's photography skills?
You don't need expensive equipment to take great photos! You can take amazing photos with just a phone.
It's easy to get started with the software.
There are many apps to help you edit and share your photos on both Android and iOS.
If you want to start taking better photos, here are five tips to help you get started.
-
Set Up Your Camera App. Your device should already have your camera app installed. If it is not installed, you can download it from Google Play.
-
Use Filters & Effects. Filters and effects allow you to change the appearance of your photo without having to touch your image.
-
Adjust the exposure. You can adjust exposure to alter the brightness of your image.
-
Use the Right Lighting Photographing in bright lighting makes it easier for you to see details within your subject. If you shoot in low light, it is possible to capture shadows or highlights in your photo.
-
Take Pictures Of People. Take pictures of people to show them what you love the most.
Learn more about taking better photos with your smartphone by reading our article 5 Tips to Improve Your Photography Skills.
Statistics
- This article received 13 testimonials, and 100% of readers who voted found it helpful, earning it our reader-approved status. (wikihow.com)
- By March 2014, about 3 million were purchased monthly, about 30 percent of the peak sales total. (en.wikipedia.org)
- Get 40% off Adobe Creative Cloud(opens in new tab) (creativebloq.com)
- There are people out there who will pick at flaws they can only see in 100% crops of your photos. (wikihow.com)
External Links
How To
Lightroom and Photography: How to Use it
Adobe Lightroom is a powerful tool for photographers who want to edit photos quickly and easily. It allows you upload your images to one place that can be viewed as well as edited, cropped, liten, and saved. You can share them online or print them.
Lightroom offers editing tools such as cropping, adjusting brightness and contrast, color balance and color balance. It also includes presets that allow you to apply common effects like vignette and lens distortion correction. The best part about Lightroom is that you can apply these effects automatically when exporting your image.
Adobe Bridge lets you access Lightroom. It allows you to organize your files and view thumbnails, while browsing your collection. You can also add keywords to images to make them easier to find later.
Lightroom's free trial version is a good choice if you're just getting started. This gives you all the basic features. There are two options available if you choose to upgrade. You can either purchase the full version right away or subscribe.
Lightroom can be downloaded in many different ways. Adobe may offer the software for purchase. Another way is to download the trial version and convert it to a paid license. Here's how.
-
Lightroom Trial Version
-
Launch the program and click "Convert to License" at the bottom of the window.
-
Choose the type and payment details that you prefer (permanent/one-year)
-
Click "Continue" to complete the process.
-
Once the trial version has been converted to a paid licence, you can continue using the license until the end.